Running an Objective
This tutorial will demonstrate running Objectives using MoveIt Pro. An Objective is a high-level task that can be performed by the robot.
Creating, modifying, and executing Objectives is a core feature of MoveIt Pro. Objectives are composed of Behaviors, which are smaller tasks that the robot can execute and can be thought of as building blocks to create Objectives. To find out more about Behaviors, see Built-in Behaviors.
MoveIt Pro contains a wide variety of pre-made Objectives and Behaviors, so you can start commanding a robot right away.
This tutorial uses the “3 Waypoints Pick and Place” Objective, which commands a robot arm to repeatedly pick up and place a small object in simulation. Note that in this simulation, no physics, cameras, or other sensors are being simulated, so no objects will actually move in the scene.
Consider using Gazebo or a real robot with MoveIt Pro to actually see a block being grabbed and moved.
Launch MoveIt Pro
We assume you have already installed MoveIt Pro to the default install location. Launch the application using:
moveit_pro run -c picknik_ur_mock_hw_config
When launching MoveIt Pro, the default screen is the Objective Builder view. This view shows all the built-in and compiled Objectives in the MoveIt Pro configuration folder.
1. Objectives View
This section goes over the different sections of the Objectives view. Navigate to the Objectives view by clicking the Objectives tab.

The Objectives view shows the current visualization of the robot, current Objective’s Behavior Tree, the Quick Objectives hotbar, View Selection drop-down menu, and the Collapsible Objectives sidebar.

In the Visualization pane, the view of the scene can be adjusted by clicking in the pane and dragging the mouse around.
In the Behavior Tree pane, the current Objective is shown. While running an Objective, the Behavior Tree pane will highlight which Behavior(s) in the Objective the robot are currently executing.
The Quick Objectives hotbar has some Objectives that you can run quickly and is also customizable. To add/remove Objectives to the Quick Objective hotbar, click on the Collapsible Objectives sidebar button and star/unstar the Objectives you want on the Quick Objectives hotbar.
With the View Selection drop-down menu, you can customize how many panes you want to have at any given time. The panes can also be swapped with one another using the swap pane buttons between the panels.
1. Running the Objective
Now run the “3 Waypoints Pick and Place” Objective. To run the Objective, first click the Collapsible Objectives sidebar button. This will bring up a sidebar with all of the compiled Objectives. Then click on the play button next to “3 Waypoints Pick and Place”. The robot will navigate to the “Behind” waypoint first, and then begin its pick and place routine.
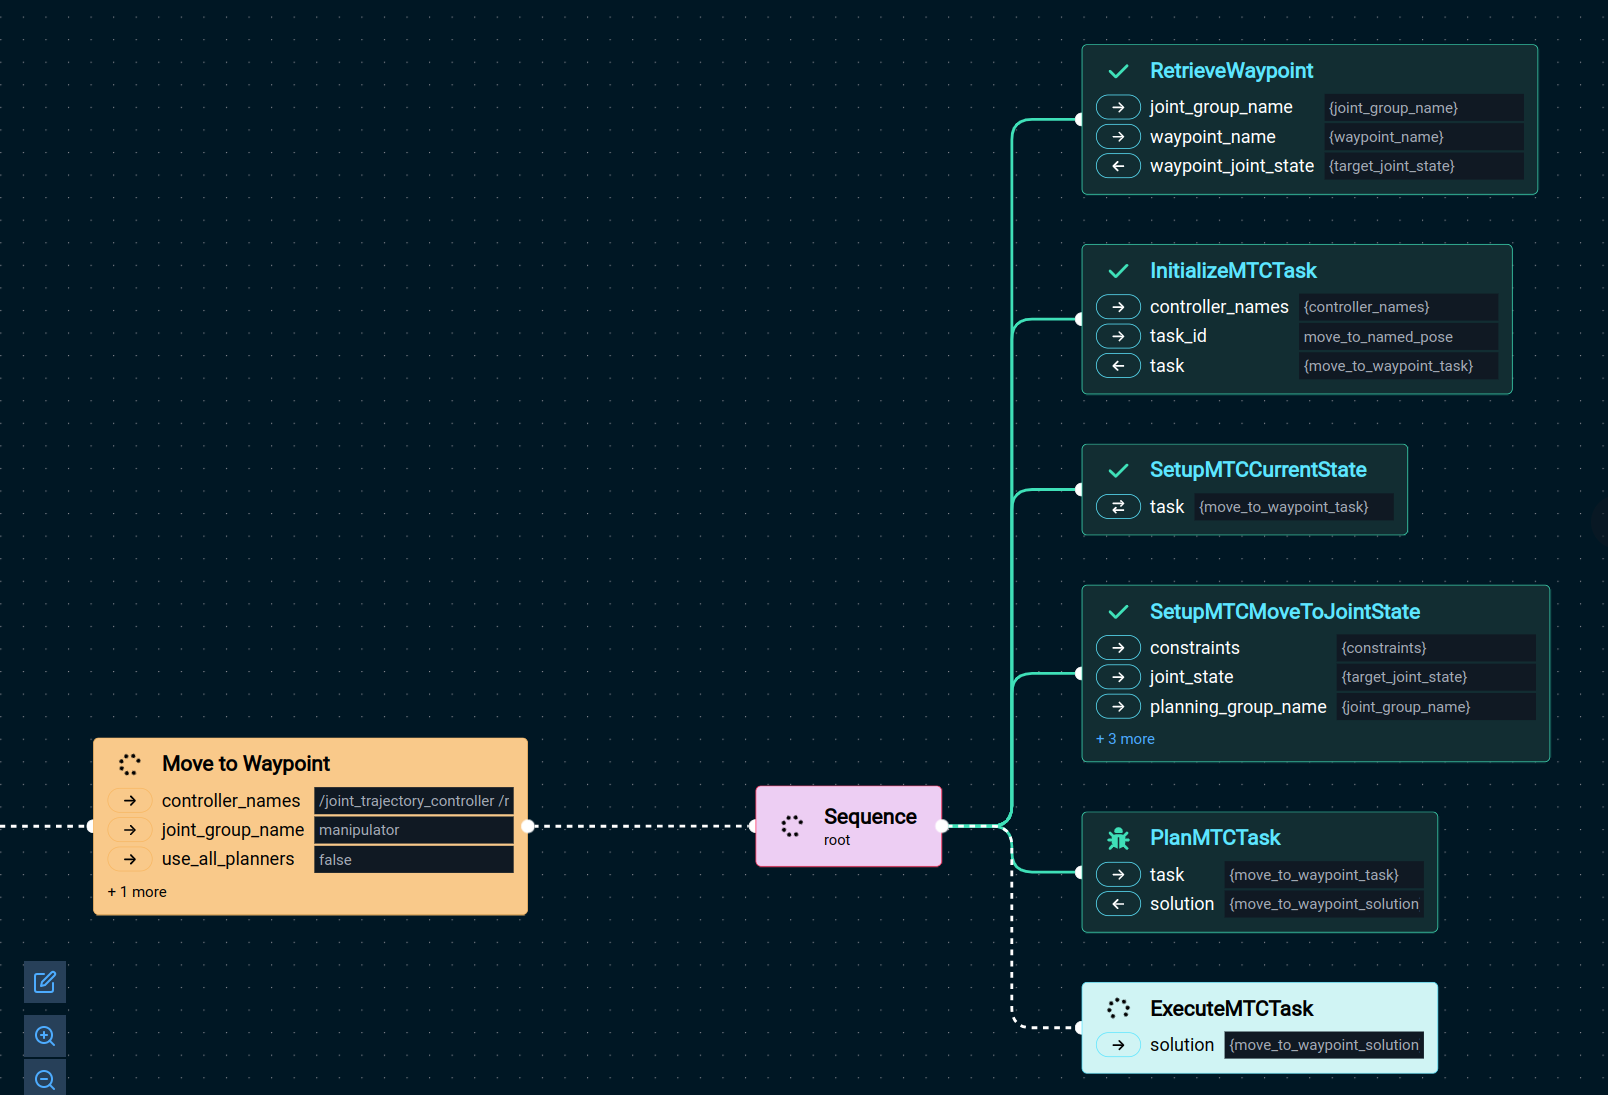
An alternative way to run the “3 Waypoints Pick and Place” Objective is to simply click the button on the Quick Objectives hotbar. MoveIt Pro’s Behavior Tree panel will highlight the current behavior being executed with a spinner.
For example, in the screenshot below, the robot is executing the “ExecuteMTCPlan” Behavior, which is part of the Move to Waypoint subtree.

1. Stopping a Motion
To safely stop the robot while executing the Objective, click the “Stop Motion” button on the top right. There will be a popup afterwards indicating that the Objective execution was halted. That can be safely dismissed.
Congratulations! You have successfully run the “3 Waypoints Pick and Place” Objective! You can try running another Objective or creating a custom Objective.