Gazebo Configuration Guide
This tutorial shows how to create a MoveIt Studio site configuration package using the Gazebo simulator.
For more information on configuration packages, refer to Configuring a Custom Robot.
Getting Started with an Example Gazebo Configuration
If you have followed the Quick Start guide, you should have an example MoveIt Studio workspace on your system.
Using default options, this is located at ~/moveit_studio/moveit_studio_ws.
This repository contains an example Gazebo configuration package for a UR5e arm, in the picknik_ur_gazebo_config package.
To use this package, ensure the above folder is mounted as a user workspace, and then start MoveIt Studio as follows:
./moveit_studio run -c picknik_ur_gazebo_config
Or if you are directly modifying the .env file, modify it as follows:
STUDIO_CONFIG_PACKAGE=picknik_ur_gazebo_config
STUDIO_HOST_USER_WORKSPACE=~/moveit_studio/moveit_studio_ws
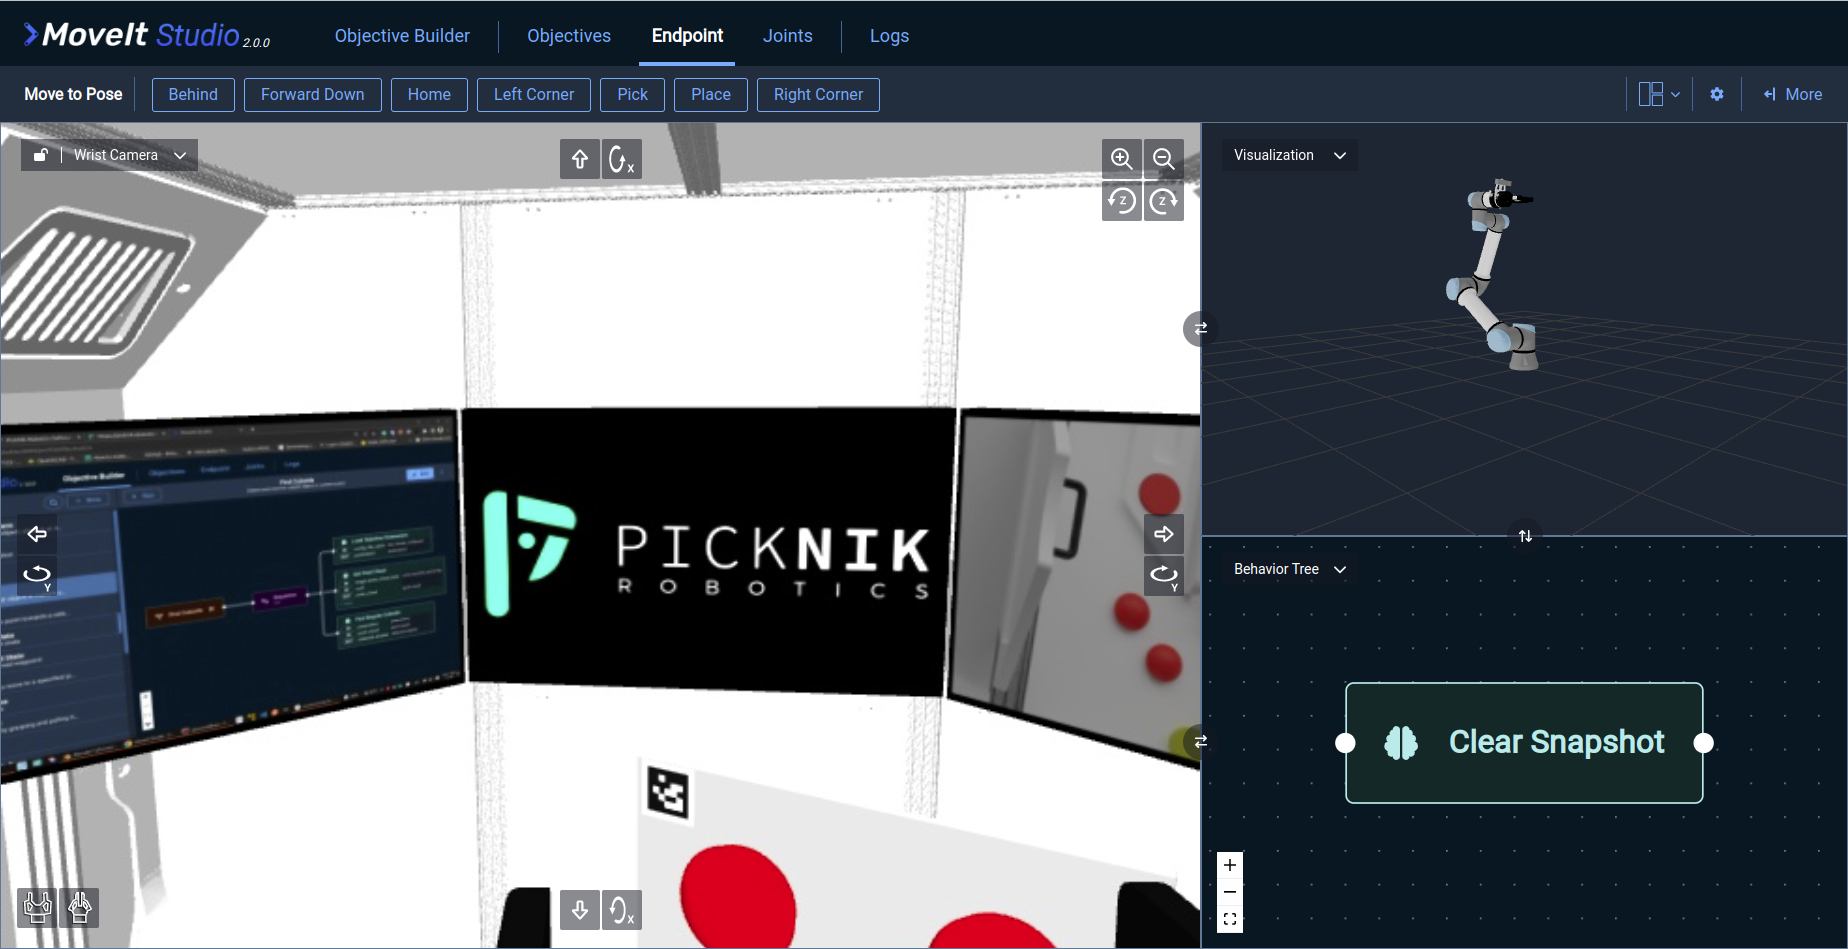
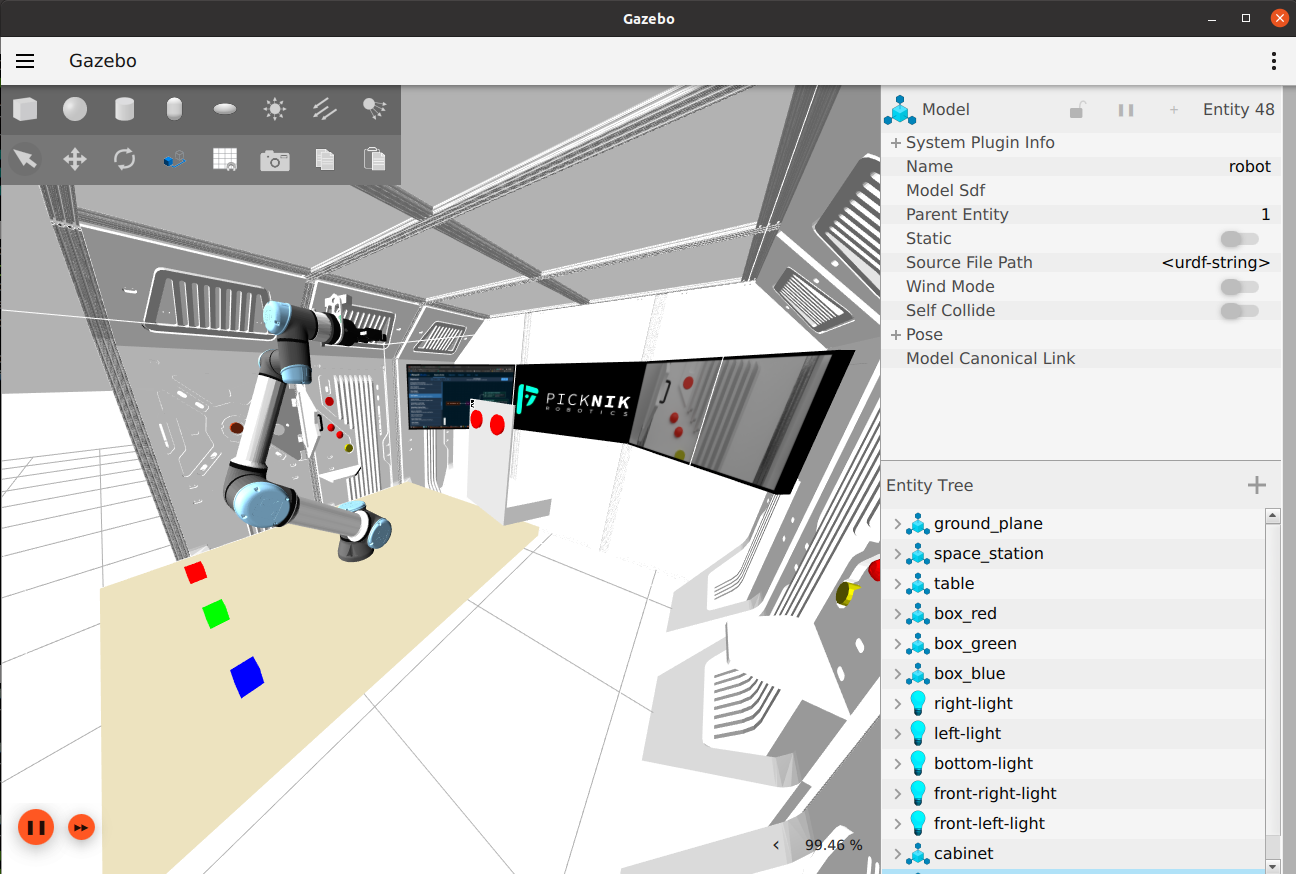
When the MoveIt Studio web app is launched, you should now see camera feeds from wrist-mounted and static scene cameras rendering an example Gazebo world.

Gazebo can simulate sensors, such as the RGB-D cameras in this example world, or force-torque sensors. As a result, this site configuration package contains additional Objectives compared to the example packages that use mock hardware components. Try running some of these Objectives, such as “Inspect Surface” or “Push Button”.
Note
Gazebo may have performance or configuration issues when running on different platforms. Refer to the Troubleshooting guides for additional tips on debugging Gazebo deployments.
Creating a Gazebo Site Configuration Package
As discussed in Configuring a Custom Robot, you can create a site configuration package that inherits from a base configuration package.
Go to your user workspace and locate the picknik_ur_gazebo_config/config/site_config.yaml file.
In this section, we will go through some of the key parameters that must be set to work with Gazebo.
First, we configure the picknik_ur_gazebo_config package to be based on the picknik_ur_base_config package.
# Name of the package to specialize
based_on_package: "picknik_ur_base_config"
Next, we introduce some parameters that configure MoveIt Studio to work well with Gazebo. This includes:
Adding
optional_feature_paramsto set Gazebo related parameters.Ensuring that simulation time is used to synchronize ROS nodes with the Gazebo clock.
Ensuring that the controller manager is not started by MoveIt Studio, since the Gazebo
ros2_controlplugin has its own.Defining the launch file that is used when
hardware.simulatedisTrue.Overriding other parameters from the base configuration package, such as camera configuration and the robot description model.
# Optional parameters that can be read in your launch files for specific functionality
optional_feature_params:
    gazebo_world_name: "space_station.sdf"
    gazebo_gui: False
    gazebo_verbose: True

# Enable simulation time so nodes are synced with the Gazebo block.
ros_global_params:
    use_sim_time: True

hardware:
    # Used by the ur_description package to set kinematics and geometry for a specific robot type.
    # You can change this to another UR model but you must update any configuration affected by the different arm size
    # UR models in the ur_description package are ur3, ur3e, ur5, ur5e, ur10, ur10e, and ur16e.
    type: "ur5e"

    # This is the only option for this site_config
    simulated: True

    # Gazebo starts its own controller manager through the ros2_control plugin, so set this to False
    launch_control_node: False

    # If the MoveIt Studio Agent should launch the robot state publisher.
    # This should be false if you are launching the robot state publisher as part of drivers.
    launch_robot_state_publisher: True

    # If the MoveIt Studio Agent should launch cameras when simulated.
    launch_cameras_when_simulated: True

    # The robot's IP address
    ip: "0.0.0.0"

    # The following launch file is started when hardware.simulated is True
    simulated_hardware_launch_file:
        package: "picknik_ur_gazebo_config"
        path: "launch/sim/hardware_sim.launch.py"

    # Override other parameters from the base config package, including
    # the camera configuration and the robot description model.
    camera_config_file:
        package: "picknik_ur_gazebo_config"
        path: "config/cameras.yaml"
    robot_description:
        srdf:
        package: "picknik_ur_gazebo_config"
        path: "config/moveit/picknik_ur_gazebo.srdf"
        urdf:
        package: "picknik_ur_gazebo_config"
        path: "description/picknik_ur_gazebo.xacro"
        urdf_params:
        - name: "%>> hardware.type"
        # Using the ogre renderer as it is compatible with most host hardware.
        # ogre2 (which is the Gazebo default) is also an option if your system supports it.
        - gazebo_renderer: ${GAZEBO_RENDERER:-ogre}
        - kinematics_parameters_file:
            package: "ur_description"
            path: "config"
        - physical_parameters_file:
            package: "ur_description"
            path: "config"
        - visual_parameters_file:
            package: "ur_description"
            path: "config"
Next, we will override the MoveIt configuration to allow perception based behaviors and use a different tuning of MoveIt Servo, as well as to configure and activate a different set of controllers compared to the base configuration.
moveit_params:
    sensors_3d:
        package: "picknik_ur_gazebo_config"
        path: "config/moveit/sensors_3d.yaml"
    servo:
        package: "picknik_ur_gazebo_config"
        path: "config/moveit/ur5e_servo.yaml"

    octomap_manager:
    # Input point cloud topic name. The *output* point cloud topic published by
    # the Octomap manager node is defined in sensors_3d.yaml.
    input_point_cloud_topic: "/wrist_mounted_camera/depth/color/points"

    # This configures what controllers gets run at startup
    ros2_control:
    controllers_active_at_startup:
        - "joint_state_broadcaster"
        - "streaming_controller"
        - "robotiq_gripper_controller"
    controllers_inactive_at_startup:
        - "joint_trajectory_controller"
Finally, we will set up this site configuration package to have additional waypoints and Objectives.
objectives:
    # Override with a new set of waypoints based on the Gazebo world.
    waypoints_file:
        package_name: "picknik_ur_gazebo_config"
        relative_path: "waypoints/waypoints.yaml"
    # Add new simulation Objectives in addition to the one in the base config package.
    objective_library_paths:
        sim:
        package_name: "picknik_ur_gazebo_config"
        relative_path: "objectives"
Adding Controllers and Sensors to the Gazebo Description
The description/picknik_ur_gazebo.xacro file contains a robot description similar to the base configuration package.
However, there is some additional configuration needed to ensure that Gazebo launches all the necessary plugins to work with MoveIt Studio.
This is why we use a different robot description file compared to the base configuration package.
First, you will notice that the ur_robot macro that launches the robot must include the sim_ignition="true" argument.
This enables the gazebo_ros2_control plugin in the UR description package.
<!-- arm -->
<xacro:ur_robot
    name="$(arg name)"
    tf_prefix=""
    parent="world"
    joint_limits_parameters_file="$(arg joint_limits_parameters_file)"
    kinematics_parameters_file="$(arg kinematics_parameters_file)/$(arg name)/default_kinematics.yaml"
    physical_parameters_file="$(arg physical_parameters_file)/$(arg name)/physical_parameters.yaml"
    visual_parameters_file="$(arg visual_parameters_file)/$(arg name)/visual_parameters.yaml"
    sim_ignition="true"
    initial_positions="${xacro.load_yaml(initial_positions_file)}">
    <origin xyz="0 0 0" rpy="0 0 0" /> <!-- position robot in the world -->
</xacro:ur_robot>
We also define our own sensor and controller manager plugins in this file:
<!-- Gazebo Plugins -->
<gazebo>
    <plugin filename="ign_ros2_control-system" name="ign_ros2_control::IgnitionROS2ControlPlugin">
    <parameters>$(find picknik_ur_gazebo_config)/config/control/picknik_ur5e.ros2_control.yaml</parameters>
    <ros>
        <remapping>/streaming_controller/commands:=/robot_controllers/commands</remapping>
        <remapping>/joint_trajectory_controller/joint_trajectory:=/robot_controllers/joint_trajectory</remapping>
    </ros>
    </plugin>
</gazebo>

<gazebo>
    <plugin filename="libignition-gazebo-sensors-system.so" name="ignition::gazebo::systems::Sensors">
    <render_engine>${gazebo_renderer}</render_engine>
    </plugin>
</gazebo>
Launching Gazebo with MoveIt Studio
Arguably the most important piece of the configuration file described in the previous section is the launch/sim/hardware_sim.launch.py file.
This is a launch file that runs Gazebo with all the settings required to integrate with MoveIt Studio.
At a high level, this launch file:
Launches Gazebo with a specific world file and arguments.
Spawns the robot and (optionally) other environment models in the simulated world.
Creates the necessary bridges to expose Gazebo topics as ROS 2 topics.
Launches other useful nodes, such as a robot state publisher.
Configuring how Gazebo is launched relies on the optional_feature_params parameters in the config/site_config.yaml file.
To do this, we use the moveit_studio_utils_py package as follows:
from moveit_studio_utils_py.system_config import get_config_folder, SystemConfigParser

system_config_parser = SystemConfigParser()
optional_feature_setting = system_config_parser.get_optional_feature_configs()
Then, we can pass these settings into our launch file as needed. A simplified version looks as follows:
from launch.actions import IncludeLaunchDescription
from moveit_studio_utils_py.launch_common import get_launch_file

gazebo = IncludeLaunchDescription(
    get_launch_file("ros_gz_sim", "launch/gz_sim.launch.py"),
    launch_arguments=[("gz_args", ["-s --headless-rendering world.sdf"])],
)
Refer to the complete launch file for more information.
Below are some recommendations when testing Gazebo based configurations:
Set
optional_feature_params.gazebo_gui: Trueand rebuild your site configuration package so that you can visually check whether Gazebo launches correctly, in addition to reading the console output.Use
ign topic echoutility (in newer versions,gz topic echo) to verify that Gazebo is publishing the expected data.Use
ros2 topic echoto verify that the expected Gazebo topics are being correctly bridged to ROS 2.
